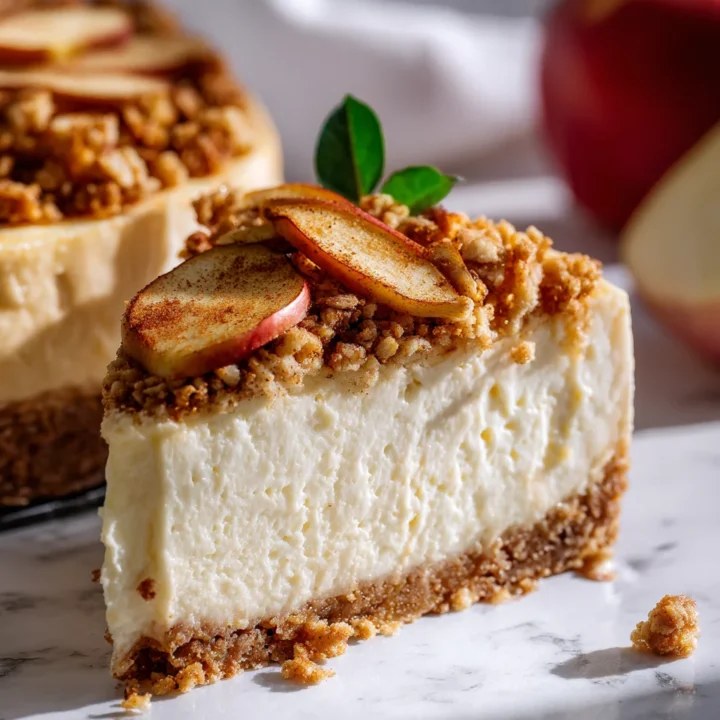
Apple Crumble Cheesecake
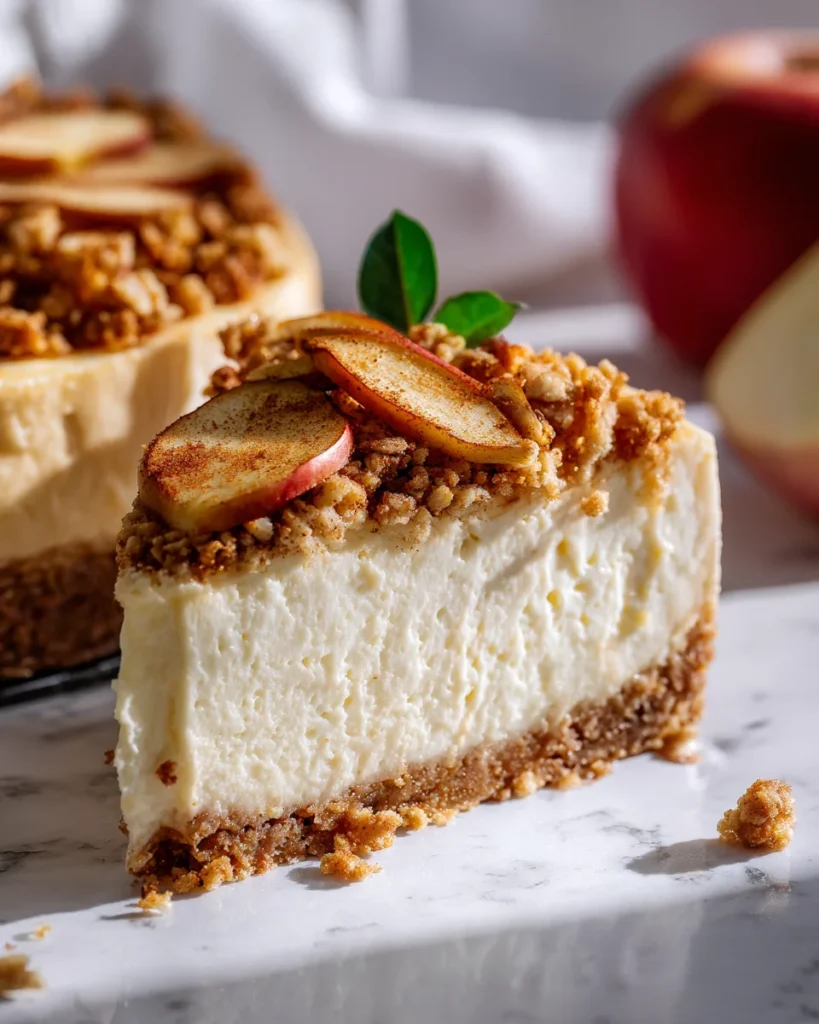
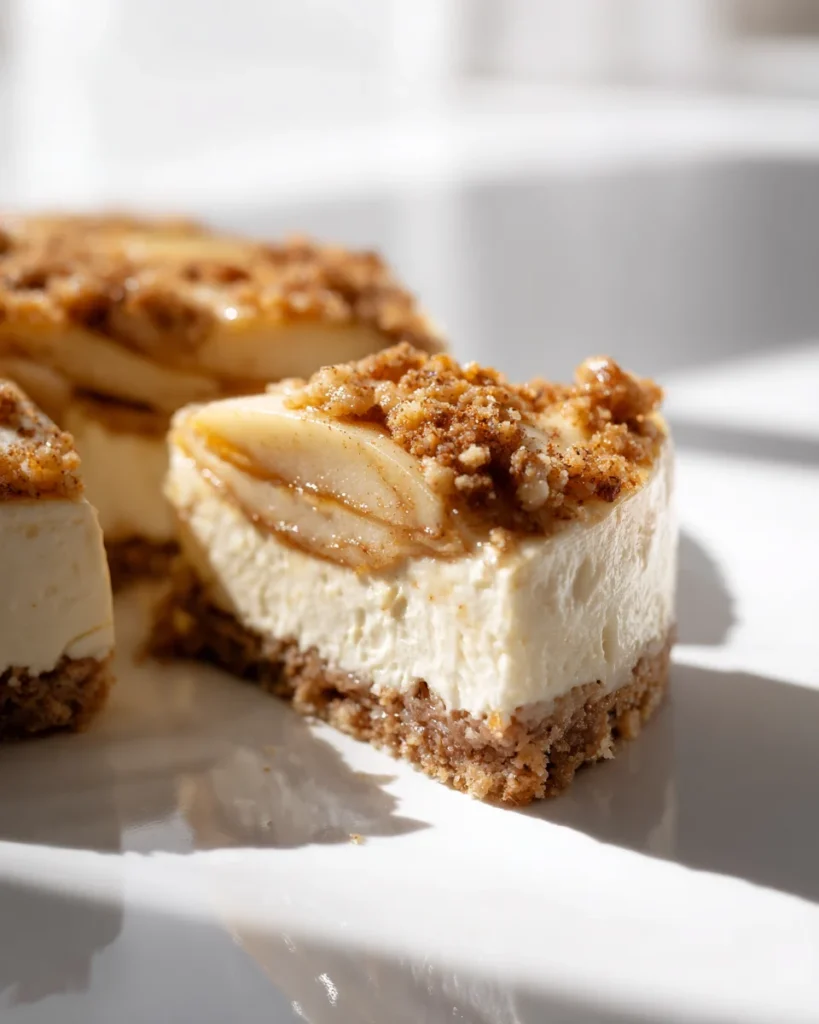
If there is one dessert that makes me feel like I am wrapping myself in a cozy blanket on a crisp autumn afternoon, it is apple crumble cheesecake. It has the best of two worlds, the creamy richness of a New York style cheesecake and the warm, spiced comfort of an apple crumble. Every bite is layered with flavor and texture, from the buttery crust, to the velvety cheesecake filling, to the cinnamon-spiced apples, and finally the golden crumble topping that adds the perfect crunch. It is the kind of dessert that feels special enough for holidays, yet simple and comforting enough to enjoy with a cup of tea on a quiet weekend.
Why You’ll Love This Recipe
What I adore about this cheesecake is how it strikes that perfect balance between indulgent and homey. The cream cheese layer is smooth and rich, yet the apples keep it from feeling too heavy. The crumble on top brings in that rustic, cozy element that reminds me of apple pie, but with a little more sophistication.
This is also a fantastic dessert for gatherings because it looks stunning and always gets people talking. I have served it at family dinners and friends’ potlucks, and it never fails to disappear quickly. The different textures really surprise people, and I have often heard someone say, “I did not know apple crumble and cheesecake could be this good together!”
Another reason I love it is that it is easy to adapt to different dietary needs. If you need it gluten-free, you can use a gluten-free graham cracker base and swap in gluten-free oats for the crumble. If you want to lighten it a little, you can use reduced fat cream cheese and it still tastes wonderfully creamy.
Finally, it is a dessert that naturally celebrates the seasons. In the fall, it highlights freshly picked apples, but I have made it in spring and summer too, and it feels just as comforting. It really is a dessert you can turn to any time of year when you want something cozy but impressive.
Apple Crumble Cheesecake
Creamy New York style cheesecake meets cozy apple crumble. A buttery graham crust holds a silky vanilla filling, spiced cinnamon apples, and a crisp oat crumb. This make ahead dessert slices beautifully and is perfect for holidays or cozy weekends.
Ingredients
- 2 cups graham cracker crumbs, 200 g
- 2 tablespoons light brown sugar, 25 g
- 1/2 teaspoon ground cinnamon
- Pinch of fine salt
- 8 tablespoons unsalted butter, melted, 113 g
- 900 g full fat cream cheese, room temperature, about 4 bricks
- 3/4 cup granulated sugar, 150 g
- 1 tablespoon cornstarch, 8 g
- 3/4 cup sour cream, room temperature, 180 g
- 2 teaspoons pure vanilla extract
- 1 teaspoon fresh lemon juice
- 3 large eggs, room temperature
- 3 medium apples, about 3 cups thin slices, 360 g, peeled if you prefer
- 1/3 cup light brown sugar, 70 g
- 1 1/2 teaspoons ground cinnamon
- 1/4 teaspoon ground nutmeg
- 1 tablespoon cornstarch, 8 g
- 1 tablespoon lemon juice
- 3/4 cup all purpose flour, 90 g
- 1/2 cup old fashioned rolled oats, 50 g
- 1/3 cup light brown sugar, 70 g
- 1 teaspoon ground cinnamon
- Pinch of fine salt
- 6 tablespoons unsalted butter, melted, 85 g
Instructions
- Prepare the pan and oven
Heat the oven to 325°F, 165°C. Line the bottom of a 9 inch springform pan with a parchment circle. Lightly grease the sides. Wrap the outside of the pan with two wide layers of heavy foil so water cannot seep in. - Make the crust
Stir the graham crumbs, brown sugar, cinnamon, and salt. Pour in the melted butter and mix until the texture resembles damp sand. Press firmly into the bottom and 1 1/2 inches up the sides of the pan. Bake 8 minutes, then set aside to cool while you prepare the other layers. - Toss the apples
In a bowl, combine the apple slices with brown sugar, cinnamon, nutmeg, cornstarch, and lemon juice. Set aside so the juices begin to release. - Mix the cheesecake filling
Beat the cream cheese on medium speed until completely smooth and creamy, about 2 minutes. Add the sugar and cornstarch and beat until blended, scraping the bowl. Mix in sour cream, vanilla, and lemon juice. Add the eggs one at a time on low speed just until combined. Do not overmix. - Assemble
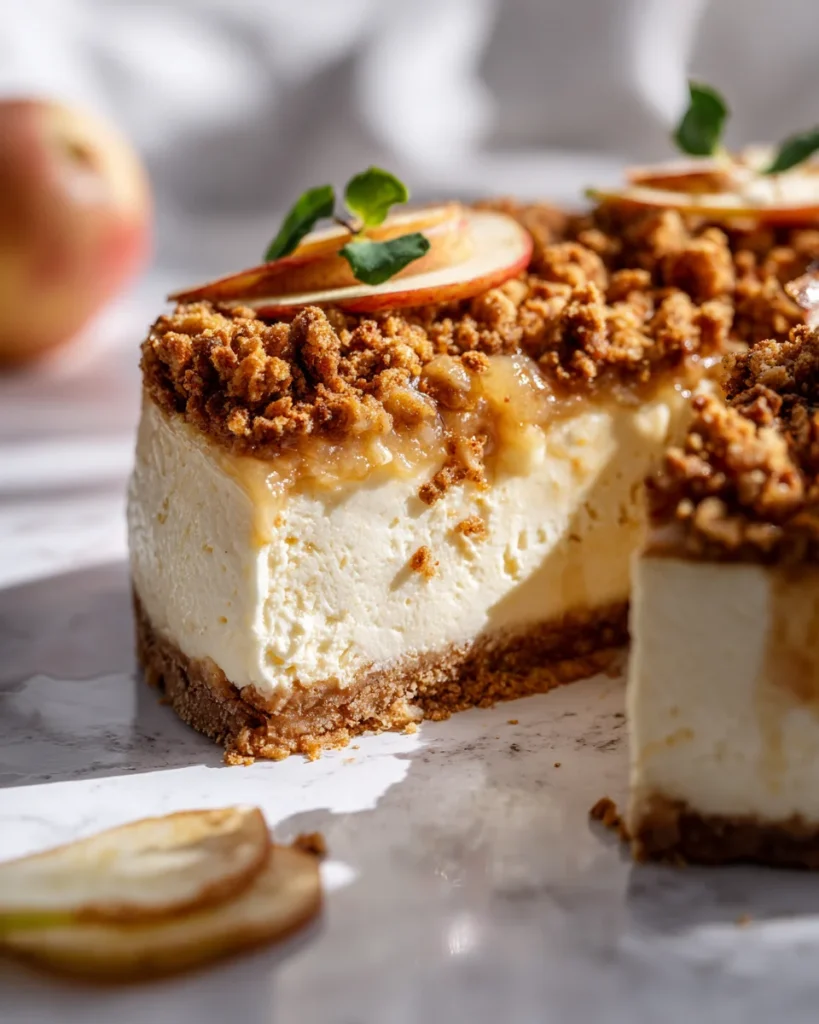
Pour the cheesecake filling over the crust and smooth the top. Arrange the apple slices evenly over the surface, letting them overlap slightly. - Make the crumble
Combine flour, oats, brown sugar, cinnamon, and salt. Stir in melted butter until clumps form. Scatter the crumble over the apples, covering the top but leaving a few peeks of apple visible. - Bake in a water bath
Place the foil wrapped pan in a large roasting pan. Set the pans in the oven, then pour hot water into the roasting pan to reach halfway up the sides of the springform. Bake 60 to 70 minutes, until the edges are set and the center wobbles slightly when gently nudged. - Cool slowly, then chill
Turn off the oven and crack the door. Let the cheesecake rest in the oven for 1 hour. Remove from the water bath, unwrap the foil, and run a thin knife around the edge. Cool to room temperature, about 1 hour, then cover and refrigerate at least 6 hours or overnight. - Serve
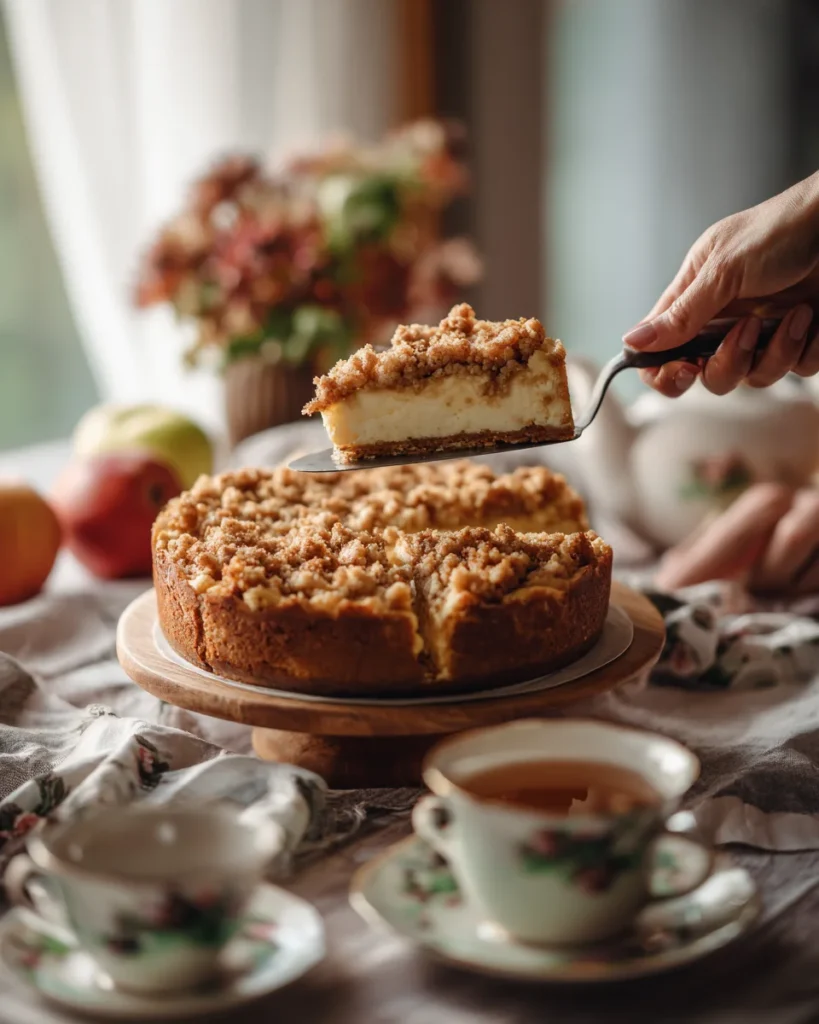
Release the springform ring. For clean slices, warm a sharp knife under hot water, wipe dry, and cut. Garnish with thin apple slices or a light drizzle of caramel if you like.
Notes
If you prefer not to set the pan in water, place a pan of hot water on the lower rack and bake the cheesecake on the middle rack. This adds moisture to the oven and helps prevent cracks.
This cheesecake is even better on day two. Bake the day before serving and chill overnight. It slices neatly and the flavors meld beautifully.
Cover and refrigerate for up to 5 days. For longer storage, slice and wrap each piece tightly, then freeze for up to 2 months. Thaw overnight in the refrigerator.
Use gluten free graham crackers and certified gluten free oats. The rest of the ingredients are naturally gluten free.
A mix of tart and sweet is best. Granny Smith with Honeycrisp or Fuji gives great balance and keeps the apples from turning mushy.
For a slightly crispier top, place the chilled cheesecake back in a 350°F oven for 8 to 10 minutes just before serving, or broil for 30 to 60 seconds. Watch closely.
Ingredients & Substitutions
Let me talk you through the key ingredients because every layer of this cheesecake plays an important role.
Directions
Prepping the Ingredients
I always start by preparing the crust first. The graham crackers need to be crushed finely and mixed with melted butter until the mixture feels like damp sand. I press it firmly into the bottom of a springform pan and set it aside. While that chills, I soften the cream cheese and slice the apples thinly so they cook evenly.
Making the Cheesecake Filling
Once the cream cheese is ready, I beat it with sugar until smooth. Then I add eggs, one at a time, making sure each is incorporated before adding the next. Vanilla goes in last, and I never skip it, because it gives that classic cheesecake flavor. The filling gets poured gently over the prepared crust.
Adding the Apples
The apple layer comes next. I toss the slices with cinnamon, nutmeg, and brown sugar until they are lightly coated and fragrant. Then I arrange them evenly over the cheesecake filling. I like them slightly overlapping because it makes a beautiful pattern when you slice into the cake.
Topping with Crumble
The final step before baking is scattering the crumble topping generously over the apples. I make sure to cover the entire surface, but I leave some uneven spots so you can see the apples peeking through. This gives it that rustic bakery look.
Baking and Cooling
The cheesecake bakes low and slow until set around the edges but still slightly jiggly in the center. Then it cools gradually, first in the oven with the door cracked, then on the counter, and finally in the fridge overnight. This prevents cracks and helps the flavors settle together.
Mistakes to Avoid
How I Like to Enjoy Apple Crumble Cheesecake
For me, this cheesecake is pure comfort on a chilly afternoon with a steaming cup of chai or mint tea. The spices in the apples pair so well with warm drinks.

When I serve it to guests, I like to drizzle a little homemade caramel sauce on the plate and set the cheesecake slice on top. It makes it feel restaurant-worthy without being fussy.

Sometimes, for a lighter touch, I simply dust it with powdered sugar and serve it with fresh apple slices on the side. It looks beautiful and keeps the focus on the cheesecake itself.

This is also one of my favorite desserts to bring to family dinners. It feels special enough for the holidays, yet it has that nostalgic apple crumble flavor that makes everyone smile.
Variations You’ll Love
Tips for Better Results
More Recipes To Try :
FAQs
Can I make apple crumble cheesecake ahead of time?
Absolutely, and honestly I recommend it. Cheesecake is one of those desserts that actually tastes better after it has had time to rest. Making it a day ahead allows the flavors to settle and the texture to firm up beautifully. If I know I have guests coming over, I usually bake it the night before, let it cool slowly, then refrigerate it overnight. By the next day, it slices cleanly and looks picture perfect. The crumble topping also holds up really well, so you do not need to worry about it getting soggy.
What are the best apples to use for this recipe?
I like using a mix of tart and sweet apples because it gives the cheesecake more depth of flavor. Granny Smith apples are my go-to for their firm texture and tart bite. They do not turn mushy when baked, and they keep the dessert from being overly sweet. To balance them out, I often add Honeycrisp or Fuji, which bring a natural sweetness and juiciness. If you only have one kind of apple on hand, that is perfectly fine too, but if you can mix varieties, it makes the flavor so much more layered and interesting.
How do I keep the cheesecake from cracking?
The secret is patience. Cheesecake likes a gentle bake and a slow cool. I always bake mine at a lower temperature and avoid opening the oven too often. Once it is done, I let it cool in the oven with the door slightly ajar for about an hour before moving it to the counter. Then it cools fully at room temperature before going into the fridge. This gradual cooling process helps prevent cracks on the surface. Another little trick is to make sure all your ingredients, especially the cream cheese and eggs, are at room temperature before mixing. This keeps the batter smooth and prevents overmixing, which can also lead to cracks.