Homemade Ice Cream
Why I Keep Coming Back to This
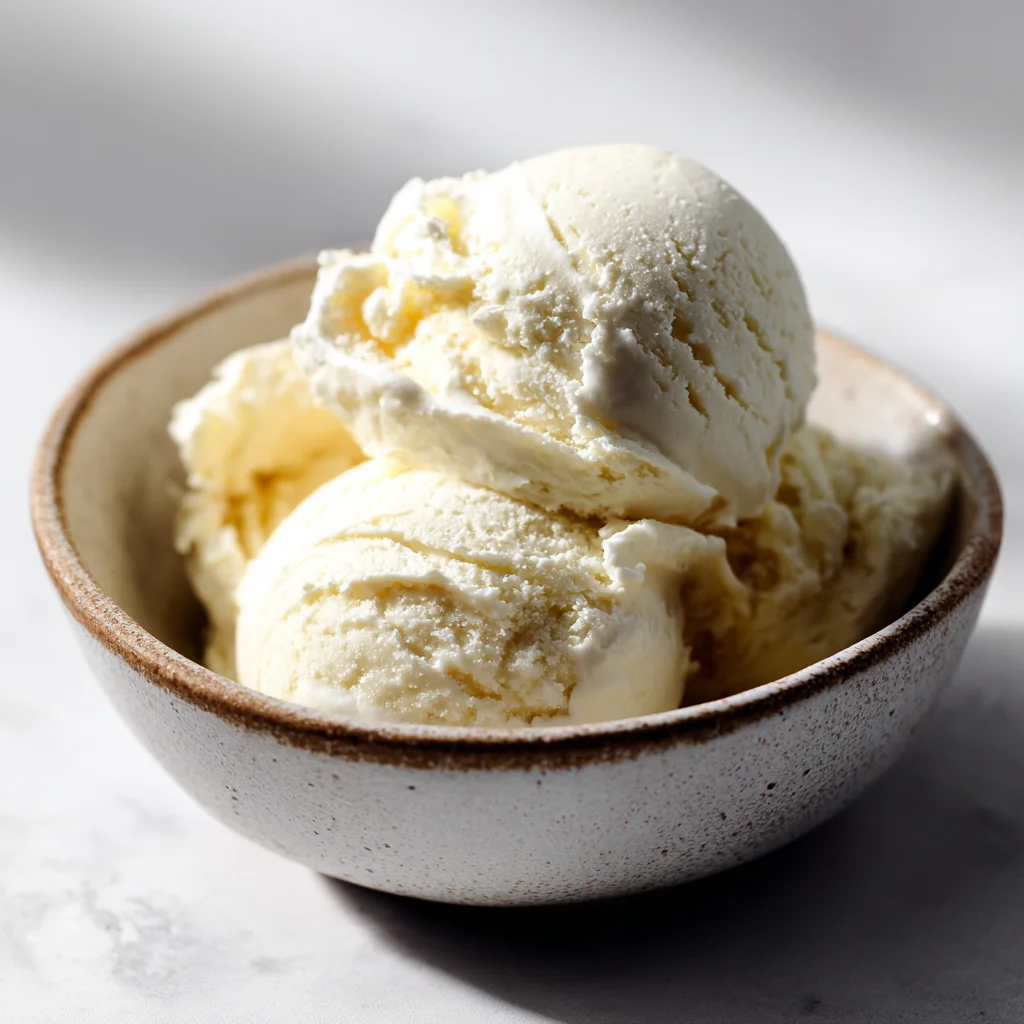
The first time I made ice cream at home, I was standing barefoot in my tiny apartment kitchen, stirring a bowl over an ice bath with a spoon that had seen better days. It was midsummer, the kind of heat that makes everything feel a little slower, a little softer. I didn’t have an ice cream maker. I barely had counter space. But I was determined to make something from scratch that felt like a treat, like a celebration of summer in a bowl.
That first batch was vanilla bean — simple, creamy, and just sweet enough. I remember the way it melted slowly on the spoon, how it tasted more like milk and memory than the store-bought kinds. Since then, homemade ice cream has become a ritual. Not always fancy. Sometimes it’s just three ingredients tossed into a loaf pan. Sometimes it’s a full custard base, whisked with care. But every time, it’s a pause. A little scoop of comfort.
Now, I keep a few tubs in the freezer almost all year round. There’s something magic about offering a homemade scoop to a friend who stops by unexpectedly. Or digging into one after dinner with my kids, faces sticky, giggles loud. This is the kind of recipe that feels like home.
Quick Ingredient Snapshot
- Heavy Cream: The secret to that luscious, scoopable texture. Don’t skimp here — full-fat is key.
- Sweetened Condensed Milk: Adds sweetness and silkiness. Plus, it’s what makes the no-churn version possible.
- Vanilla Extract: Go for pure extract if you can. It adds real depth and warmth to even the simplest flavors.
- Egg Yolks (for custard versions): These bring a rich, luxurious mouthfeel. Optional, but worth it if you’re going the traditional route.
- Salt: Just a pinch balances all the sweetness and pulls the flavors into focus.
Why You’ll Love This Recipe
Homemade ice cream is the kind of recipe that sounds fancy but is surprisingly forgiving. Whether you’ve got an ice cream maker or just a freezer and a whisk, you can make a version of this that tastes better than anything you’ll find in a carton. It’s customizable too — add berries, chocolate chips, or swirl in some jam and every batch becomes uniquely yours.
What I especially love is how this recipe fits into real life. Busy week? Use the no-churn three-ingredient version and have it in the freezer in under 10 minutes. Feeling like doing something special on a Saturday? Try the custard-based version and savor the process.
Texturally, this ice cream is dreamy. It’s dense yet soft, creamy without being too rich, and melts on the tongue in the most satisfying way. It also happens to be naturally gluten-free and can easily be made egg-free or dairy-free with a few swaps.
Let’s Talk Ingredients
If we’re going classic, you’ll want heavy cream and sweetened condensed milk as your base. These two do all the heavy lifting in the no-churn method. The cream gives you that luxurious texture, and the condensed milk sweetens and thickens everything just right.
For those venturing into the custard method, you’ll add egg yolks and whole milk. The egg yolks not only enrich the flavor but also help stabilize the base so the texture stays creamy and doesn’t get icy. You’ll cook them gently, like a custard, until thick enough to coat the back of a spoon.
Vanilla extract is the baseline here, but don’t stop there. Cocoa powder, fresh strawberries, crushed cookies — they’re all fair game. Just remember, ingredients shine in ice cream, so fresher is better.
And salt. Don’t skip it. A tiny pinch amplifies the flavor and keeps the sweetness from going flat.
How to Make Homemade Ice Cream
Prepping the Ingredients
Start with chilled ingredients. Cold cream, cold condensed milk, and whatever mix-ins you plan to use should all be at fridge temperature. If you’re making a custard base, separate your eggs ahead of time and let your yolks come to room temperature — they’ll blend more easily that way.
For the no-churn version, simply whisk the vanilla into the condensed milk and whip the cream until it holds soft peaks. Then gently fold the two together with a spatula. It’ll look airy and smooth — like a soft mousse.
Cooking the Custard Base
If you’re going traditional, whisk your egg yolks with sugar in a bowl until pale and thick. Warm the milk and cream in a saucepan just until it starts to steam, then slowly pour it into the egg mixture while whisking constantly. Return it all to the pot and cook over medium-low heat, stirring constantly, until it thickens slightly.
You’re looking for a texture that coats the back of a spoon, not something pudding-thick. Once it’s ready, strain it through a fine sieve into a clean bowl, stir in the vanilla, and chill completely — ideally overnight.
Churning and Freezing
Pour the chilled base into your ice cream maker and churn according to your machine’s instructions. It should take about 20 to 30 minutes to reach soft-serve consistency. Transfer to a container and freeze for at least four hours to firm up.
For the no-churn version, once your cream and condensed milk are folded together, pour the mixture into a loaf pan, cover with plastic wrap, and freeze for 6 hours or until scoopable.
Final Touches
Once frozen, let your ice cream sit out for 5 to 10 minutes before scooping. This helps it soften just enough to get that perfect curl on your spoon. Serve it in cones, bowls, or straight from the container — no judgment here.
Once your cream, milk, sugar, and vanilla are gently warmed and chilled, this Homemade Vanilla Ice Cream recipe from Love and Lemons is an excellent step-by-step guide for custard-based ice cream—perfect for beginners or anyone craving a classic freezer treat.
Recipe Don’ts
Don’t rush the chilling process. Whether you’re using a custard or not, your base needs to be cold before it hits the freezer — or it might turn icy.
Don’t over-whip the cream in the no-churn version. Stop at soft peaks, not stiff ones. Over-whipping makes the final texture more buttery than creamy.
Don’t go overboard with mix-ins. About 1 cup per batch is plenty, or you’ll throw off the balance and end up with something chunky and crumbly.
Variations You’ll Love
Going vegan? Swap the cream for full-fat coconut milk and use sweetened condensed coconut milk. The result is surprisingly close to dairy-based versions.
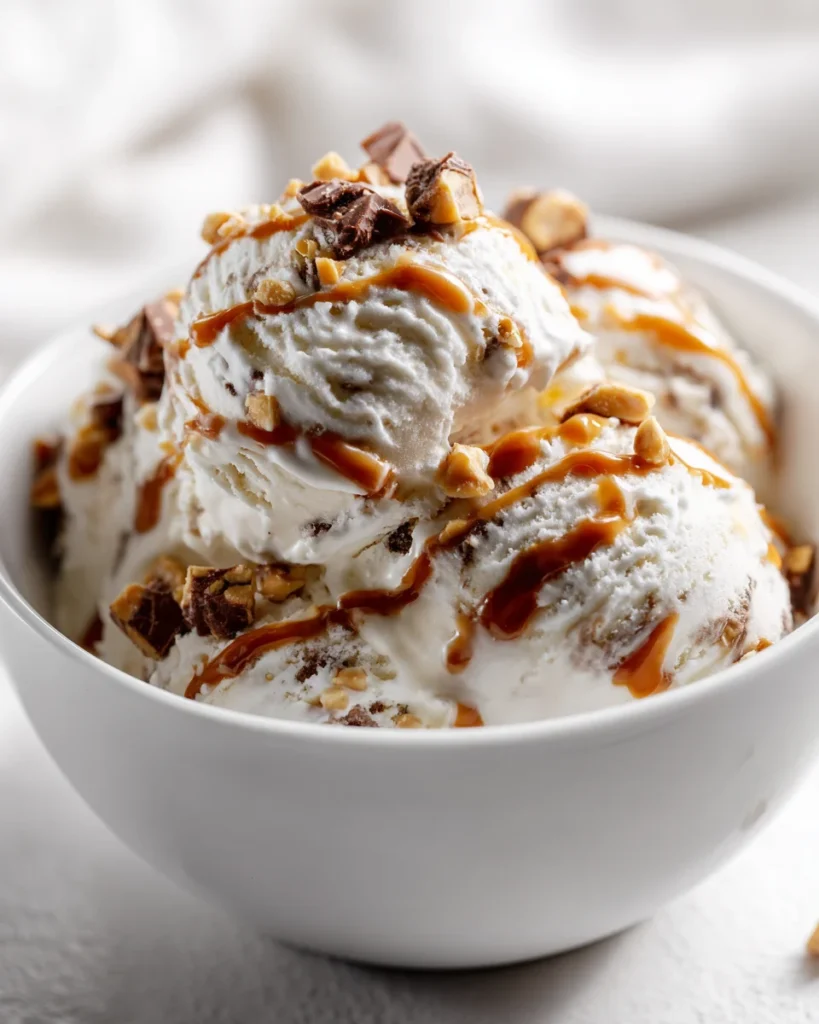
For a kid-friendly twist, try adding swirls of strawberry jam, crushed Oreos, or mini chocolate chips.
Want something seasonal? Fold in chopped roasted peaches or cinnamon-spiced apples in the fall.
Craving something bold? Try adding espresso powder to the base for a creamy coffee version or a swirl of Nutella for a chocolate-hazelnut vibe.
Expert Tips, Swaps & Storage Advice
Freeze your storage container before pouring in the ice cream. It helps everything firm up faster and stay colder longer.
Wrap the surface of your ice cream with plastic wrap before sealing with a lid. It prevents ice crystals from forming.
Homemade ice cream is best eaten within 2 weeks. After that, the texture can get a little grainy.
If you’re prepping ahead, make the base a day in advance and churn right before serving time. Or, freeze the churned version and let it soften slightly before serving.
What to Serve This With
This ice cream is pure joy on its own, but it’s also amazing between two chewy cookies for a homemade ice cream sandwich. Serve it with fresh berries and a drizzle of honey for something simple but elegant. Or top a warm brownie with a scoop and let it slowly melt into every corner — it’s the kind of dessert that turns any ordinary evening into something special.
Pair your homemade ice cream with Abbie’s ultra‑creamy Peanut Butter Pie for an extra indulgent dessert combo.
Common Questions
How do I make homemade ice cream?
It depends on your method. The no-churn version just needs whipped cream, sweetened condensed milk, and a flavor extract like vanilla. Mix, freeze, and scoop. For a traditional version, you make a custard with egg yolks, milk, and sugar, then churn it in an ice cream maker.
How to make a 3 ingredient ice cream?
Super easy — whip 2 cups of heavy cream until soft peaks form. Gently fold in 1 can of sweetened condensed milk and 1 tablespoon of vanilla extract. Freeze for 6 hours or until firm.
What is the ingredient to ice cream?
The base ingredients are usually cream, milk, sugar, and a flavoring like vanilla. Some versions use eggs for richness. No-churn ones just need cream, sweetened condensed milk, and flavoring.
How to make ice cream for kids?
Keep it fun and simple! The no-churn method is perfect for kids to help with. Let them pick add-ins like sprinkles, mini marshmallows, or cookie crumbs. Plus, it’s safe since there are no raw eggs involved.